How to set integration with Klaviyo using Visual Editor?
Klaviyo is a powerful marketing automation platform available on the Shopify App Market. It seamlessly integrates with Shopify stores, allowing businesses to create targeted email campaigns, track customer behavior, and optimize marketing efforts. With Klaviyo, users can leverage data-driven insights to enhance customer engagement and drive sales.
If you want to set up integration with Klaviyo but have trouble editing emails via HTML, then this article is for you.
Make sure that all of the following steps have been completed before you move on to editing emails:
Step 1 - Select the trigger for a needed email. Please find the list of available triggers and emails in the following file.

Step 2 - Add an email and click on 'edit'.
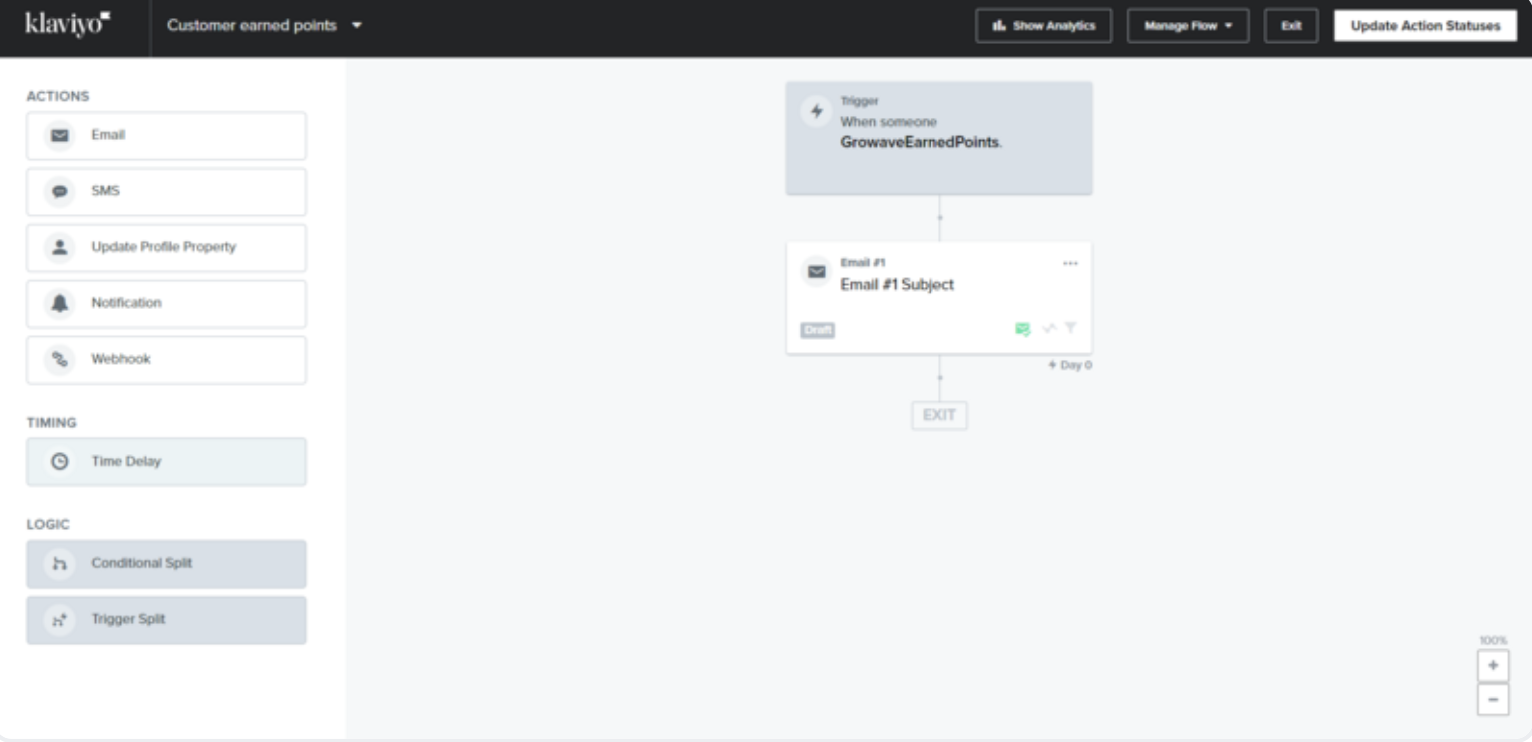
Step 3 - Add a Title.

Step 4 - Select any suitable template.

Step 5 - In the email, use the variables that are divided depending on the trigger. You can find the list of variables here. The variables can be added as text.
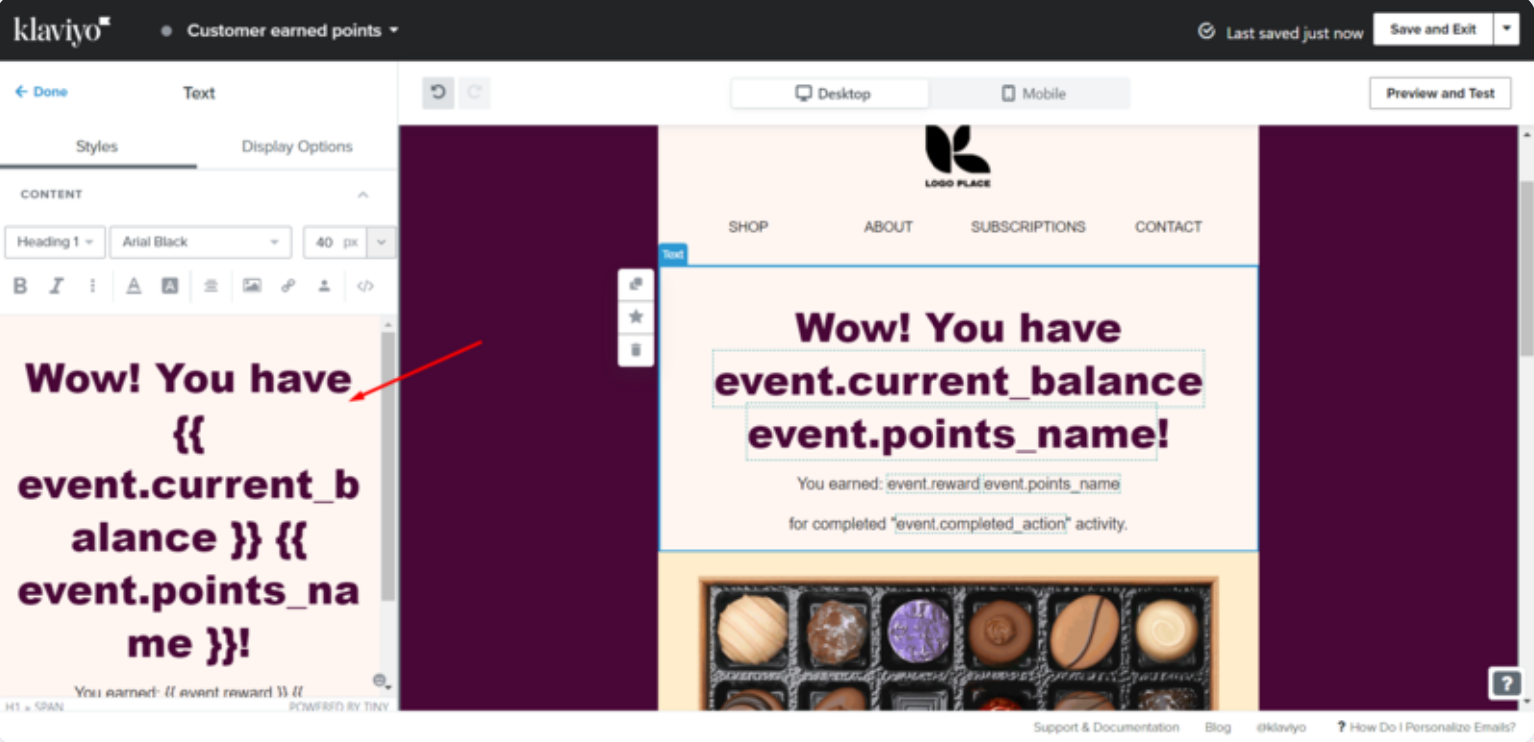
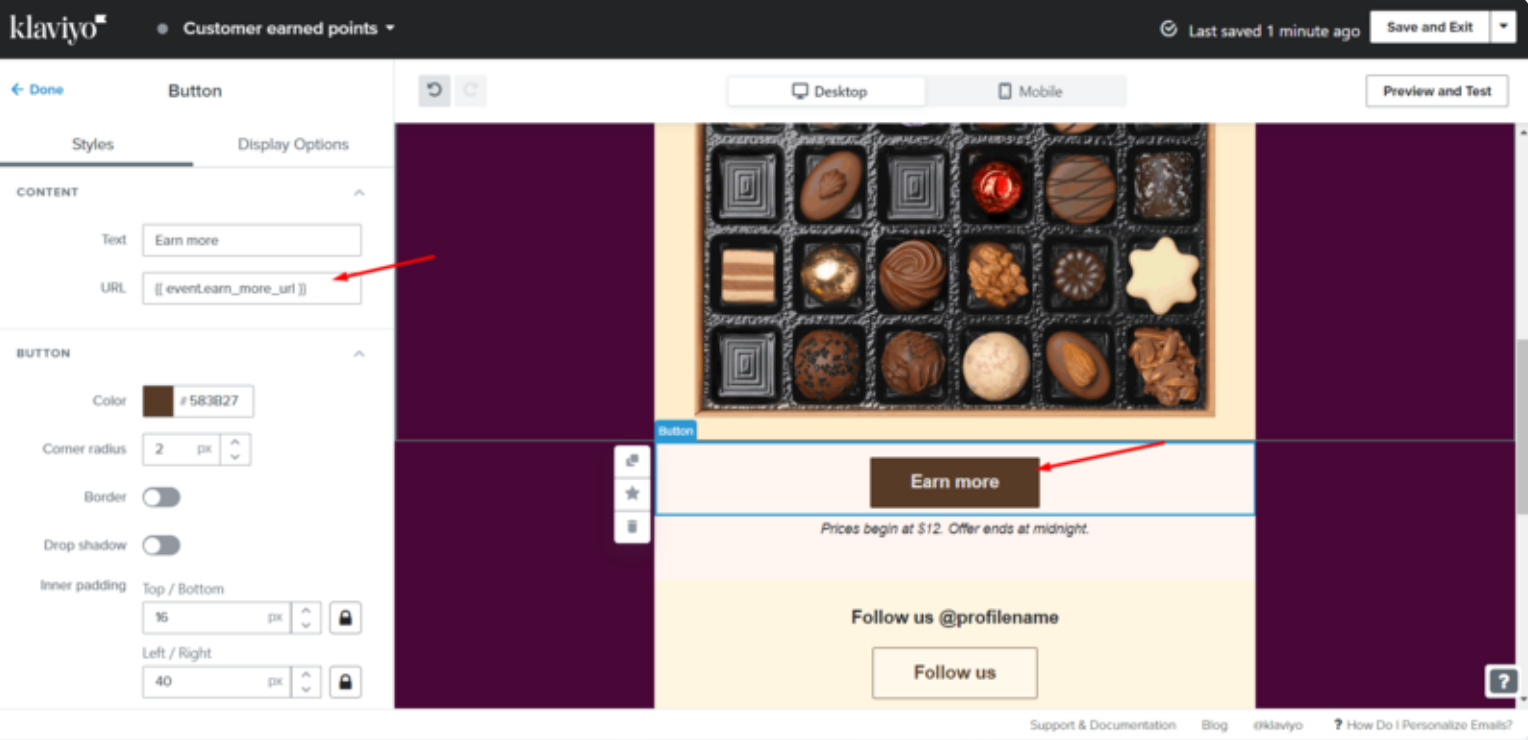
Some of the variables (ending with URL) can be used as links.
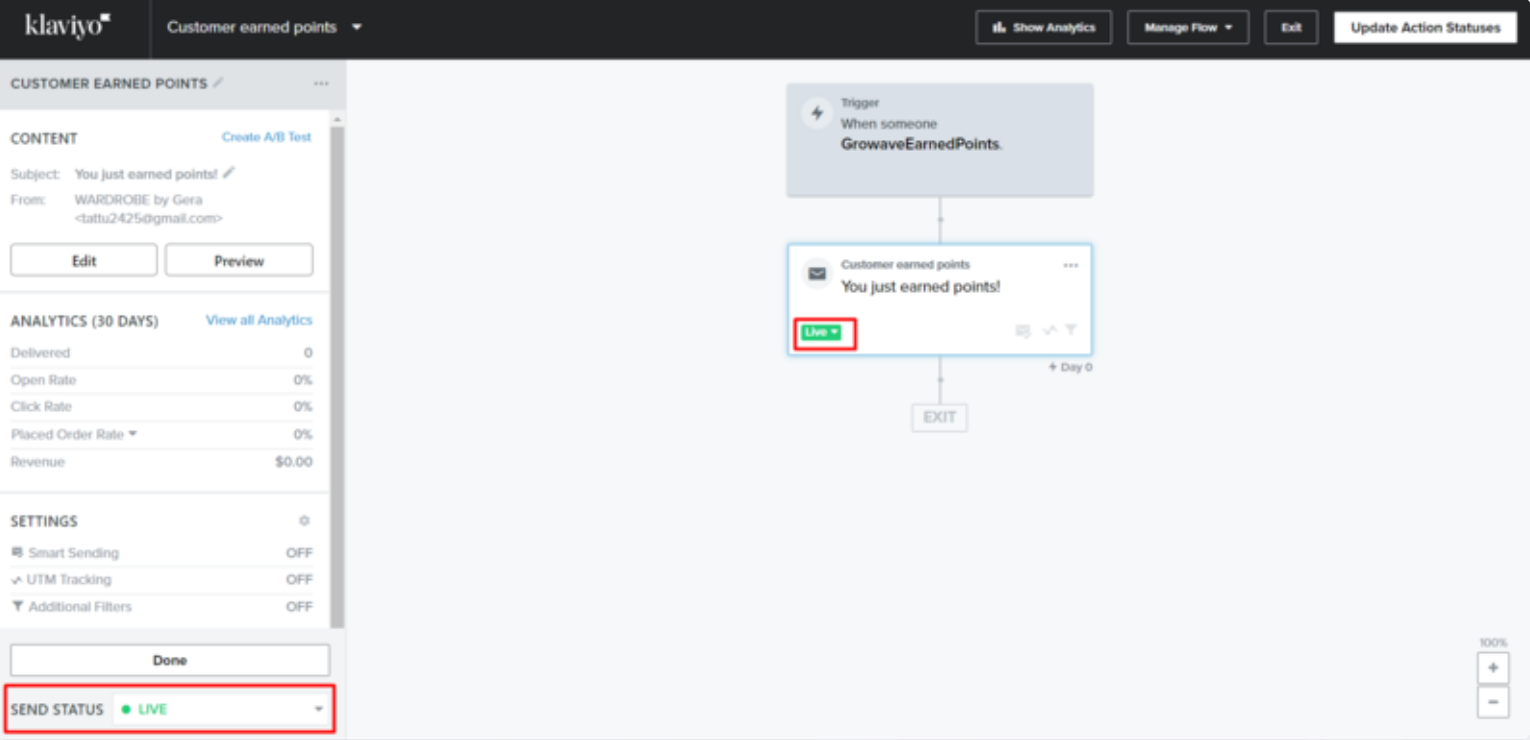
Step 6 - It's important to disable the 'Smart sending'.
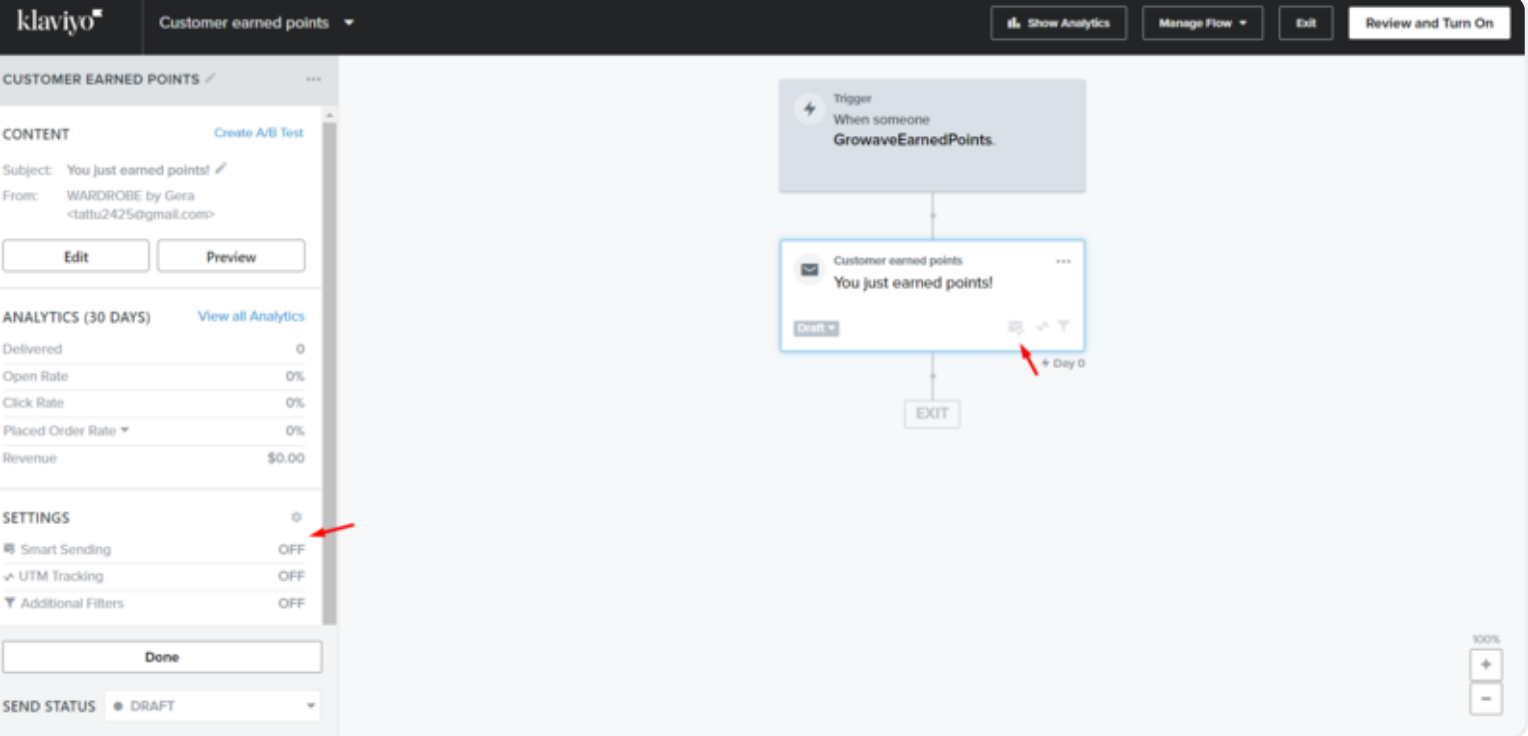
Step 7 - Enable the email and the flow.
You can check the content of the Growave emails from the Content → Templates → My templates section:
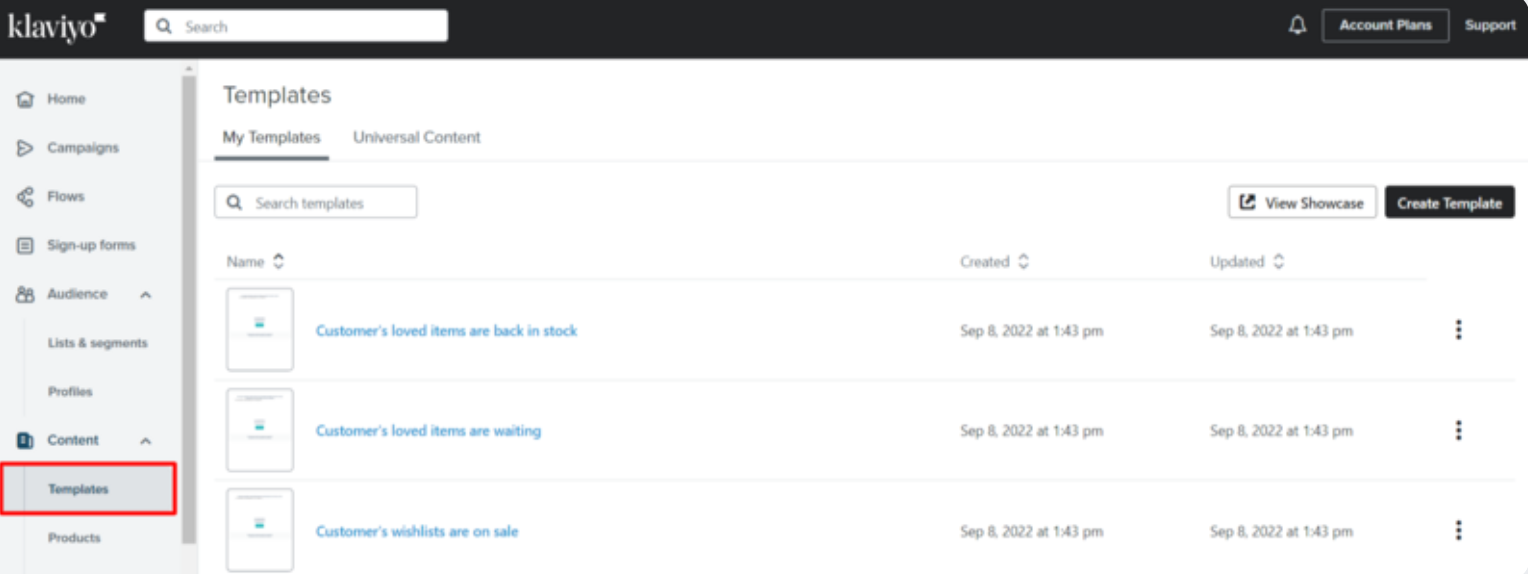
Also, if you want to check the Growave emails, used words, etc., you can find them in the Content → Templates → My Templates section:

That's it! If there you have any questions or need help, let us know 😊