Explore the Instagram Gallery Settings
The following guide describes the settings available in the Instagram Galleries setup. If you are just starting, be sure to check the details here.
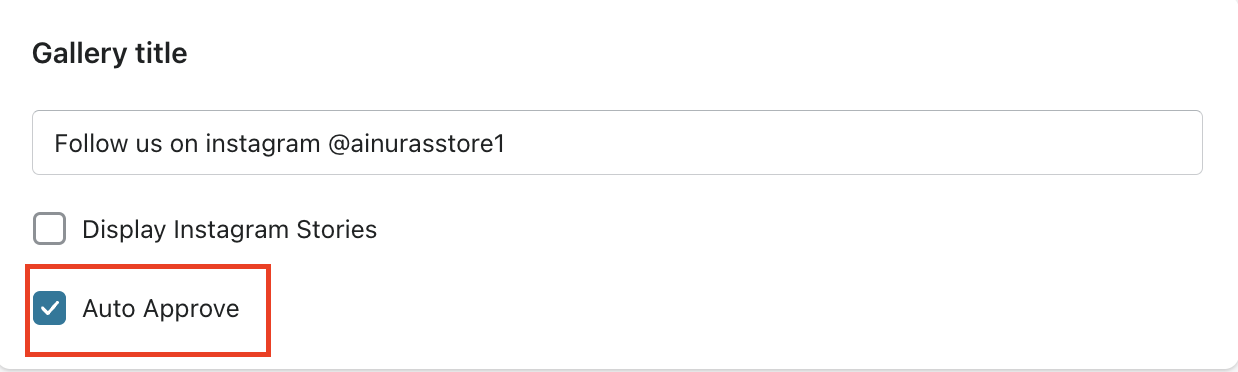
1) Once you open the gallery, you will see the following options:
- Change the Gallery title to sound like your brand
- Show Instagram stories
- Auto approve to publish all the photos from the Instagram profile on the shop
2) Then, there's an option to add hashtags so that all the posts with the same tag will be published at your store. Just add any hashtag #example and click 'Save'. All associated posts will load.

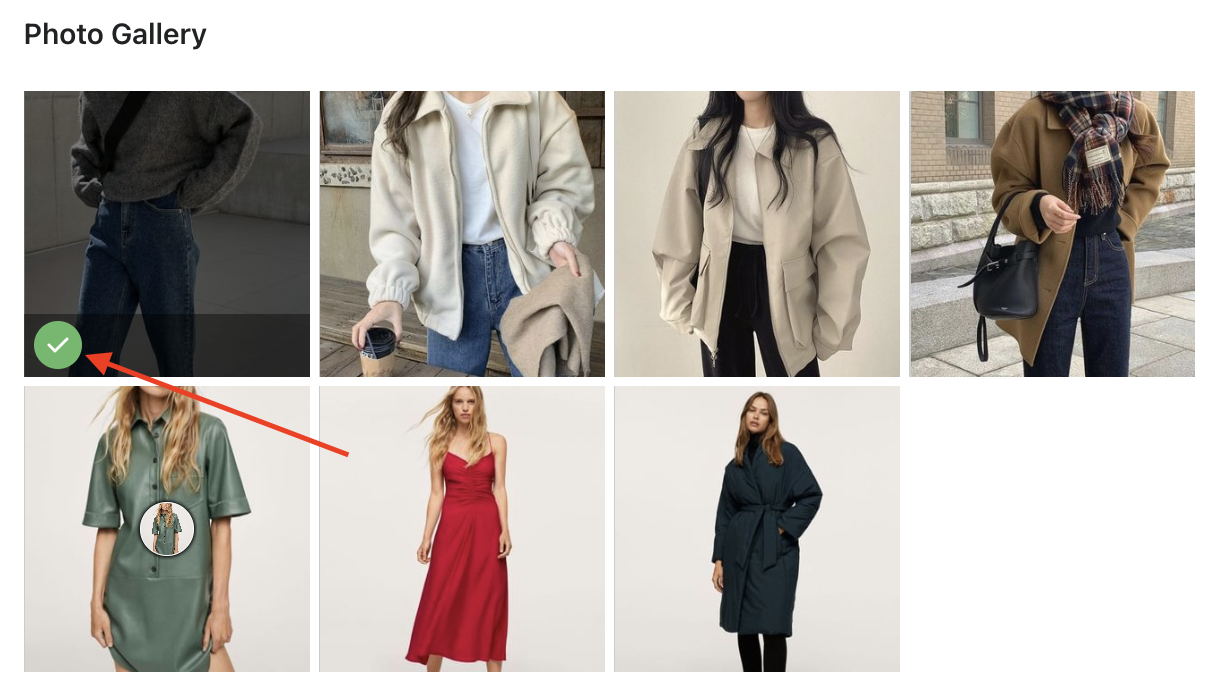
3) From here, you may select the posts which will be displayed on your shop. Just click on the circle to publish or unpublish the post:
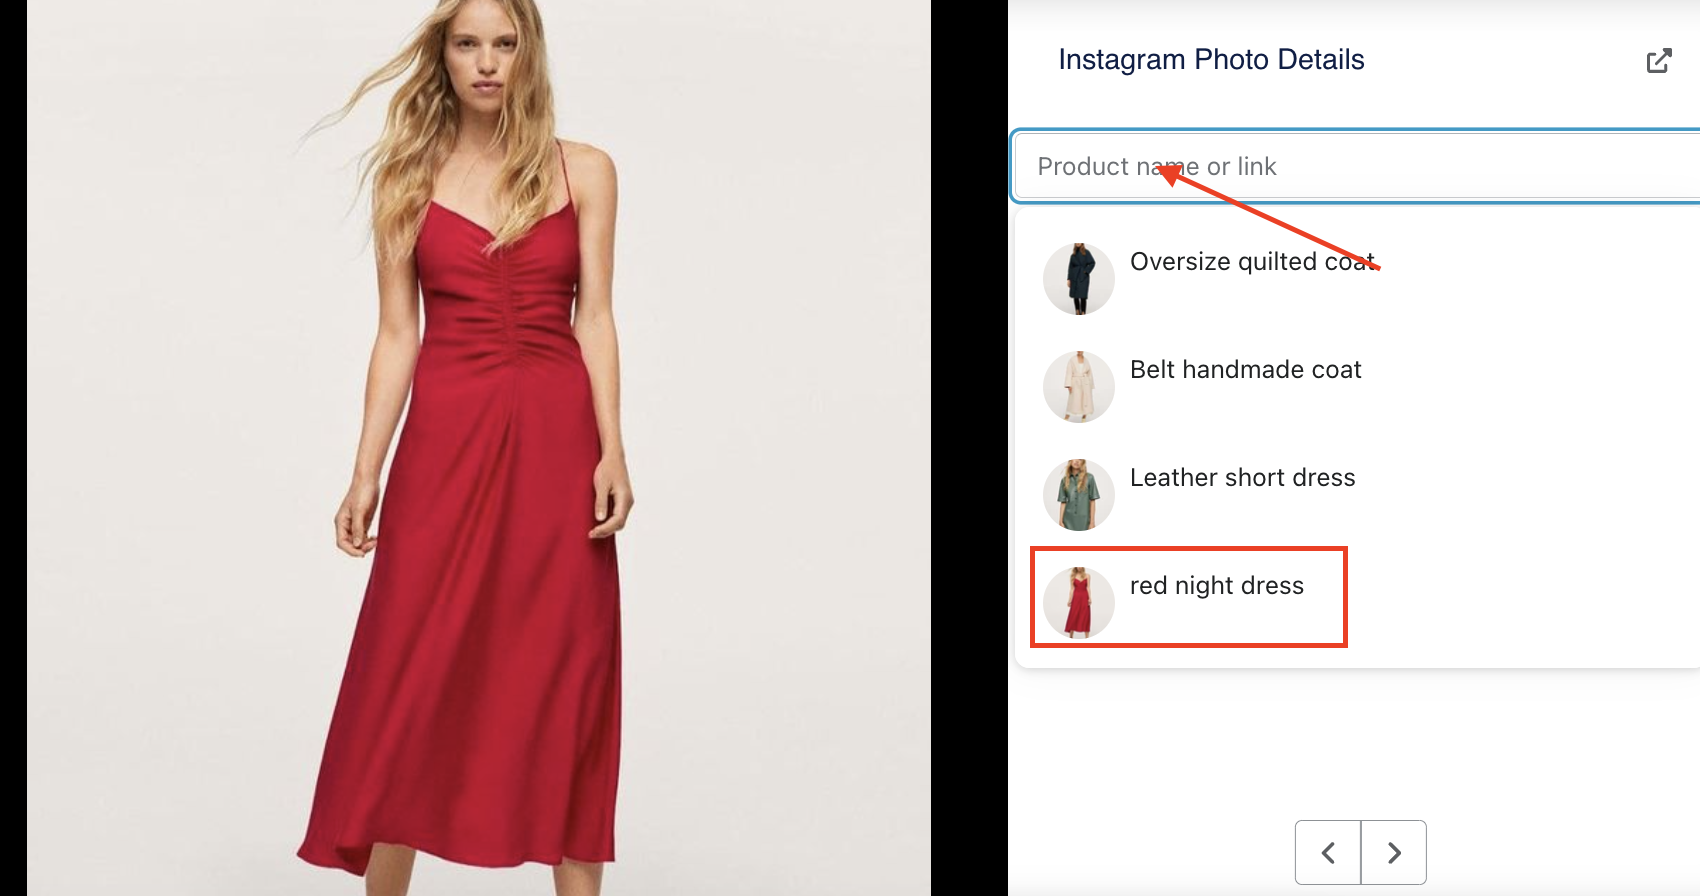
4) To tag the product on the photo, just select the photo and add the product link or find it in the search bar:
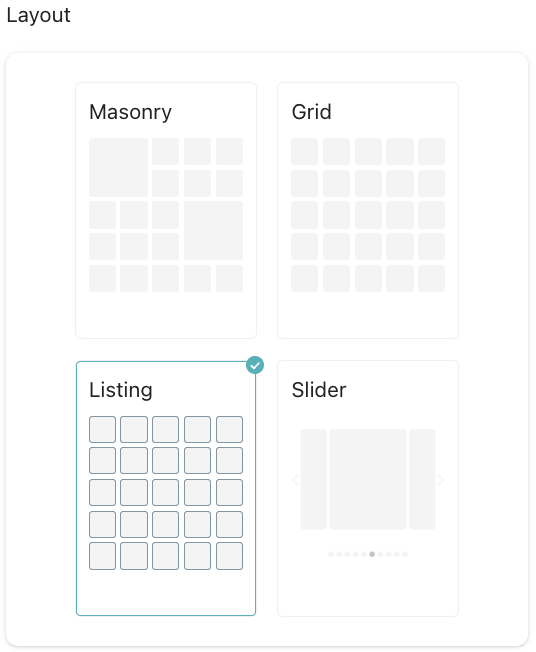
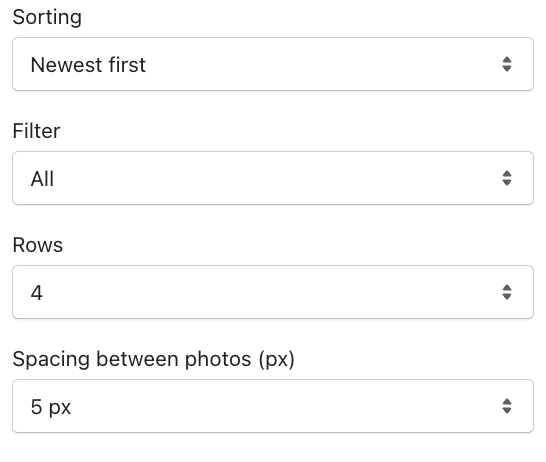
5) Let's move to the 'Layout settings':
- Select a layout:
- Then you can adjust the sorting if the tagged posts or new ones will be displayed. Filter if all or only the tagged will appear on the store. Select the number of columns, rows, or photo spacing:
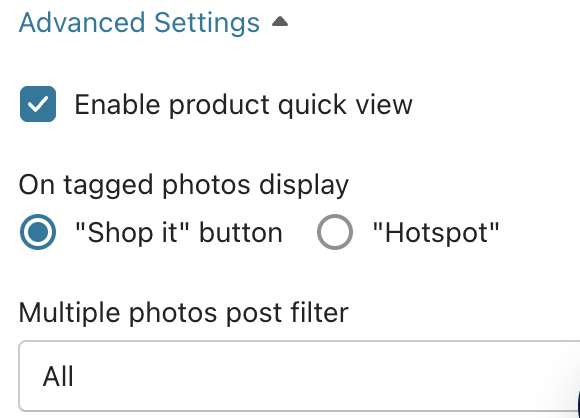
6) Lastly, you will see the 'Advanced settings':
- you can enable the product's quick view
- select the tagged image display
- select which photo should appear in case there is more than one in the post
That's it! If you have any questions, feel free to contact us at support@growave.io or by chat icon in the bottom-right corner.