Adding links and Product tags to your photos
How to add links to photos?
On the photo, you can not only tag products but also add links. The link can be from your new collection page, campaign, or any website. It allows you to direct your audience to that page.
To start, please follow the steps below:
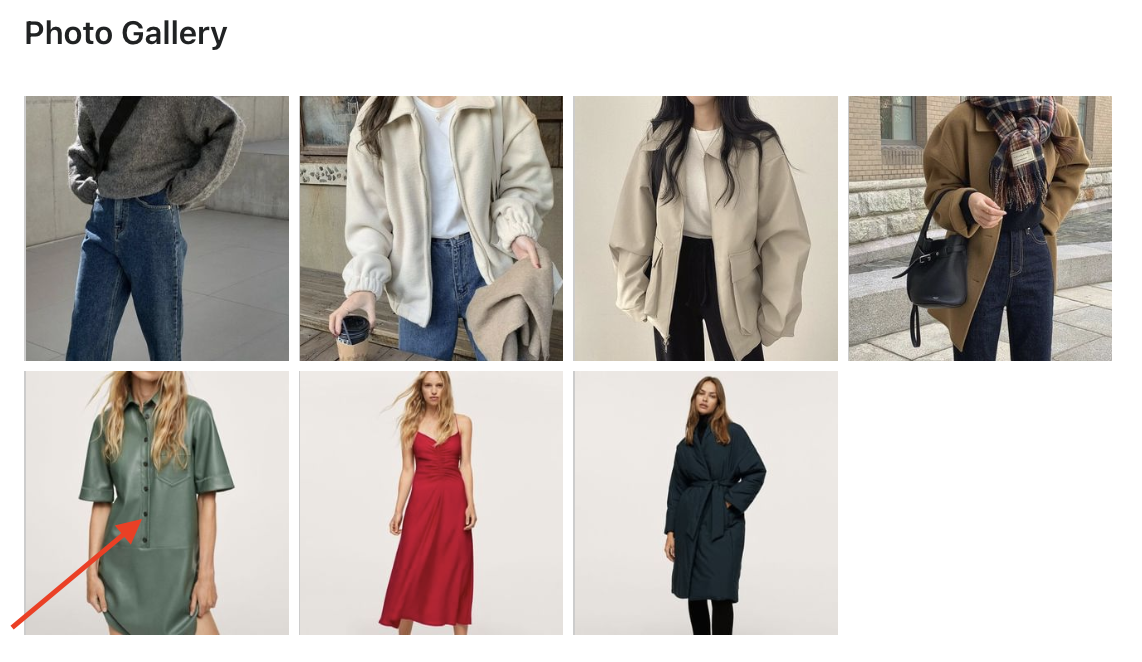
1. Go to the dashboard and open your gallery.
2. Click on a photo where you wish to add a link.
3. Add the needed link in the text field.
4. Now drag the spot into the desired image area.

Added links look like this in the gallery:

NOTE: Adding a link will not display the "Buy" button next to the product name in the gallery. It is justified by the fact that a link can address any site. Additionally, if you add a link to the Shopify Product page instead of tagging a product, the gallery with the appropriate post will not appear on the product page.
How to tag products (product variants) on photos?
When a visitor likes an item on the embedded Instagram gallery on your Shopify site, he/she has to search for the liked item throughout the entire store to buy it. And it stops most of them from buying from you.
Tagging products on photos bridges this gap between a purchase desire and placing an order. It makes your photos shoppable so visitors can buy the liked items right from pictures in a few clicks.
Please follow the steps below:
1. Go to the dashboard and open your gallery.
2. Click on a photo where you wish to add a link to a product.
3. Start typing your product name in the text field, it shows a drop-down list with matched products, pick the desired one.
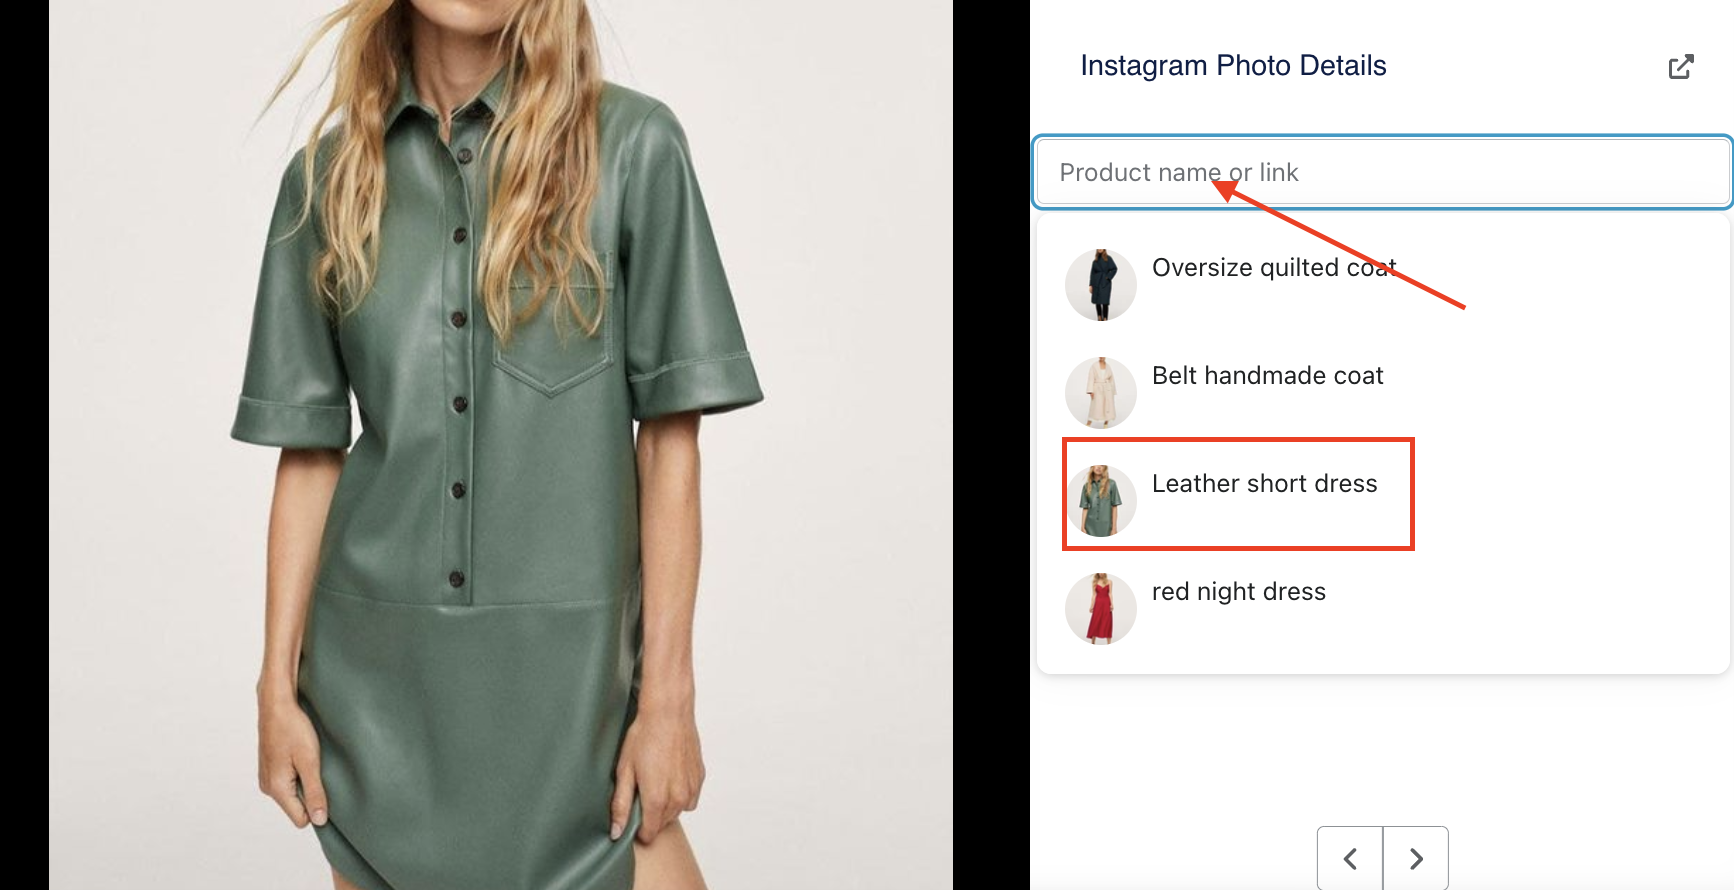
4. It shows a drop-down list with matched products, pick the wished one. If this product has variants, you can select which variant you would like to tag.
5. Now drag a spot into the desired image area.
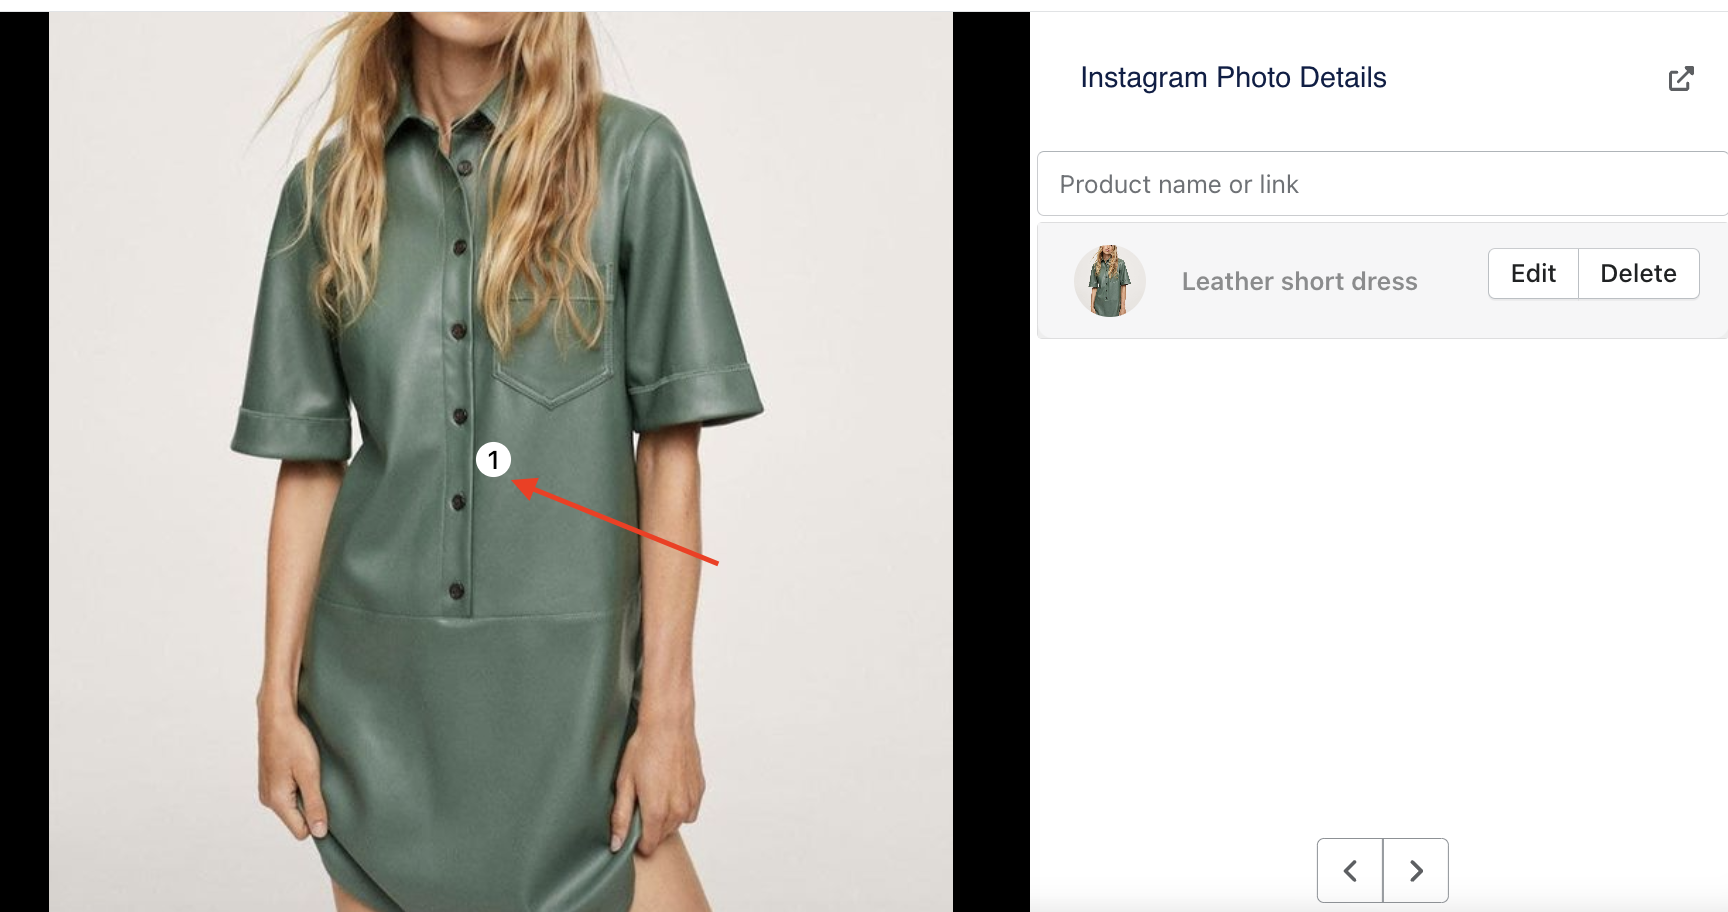
6. Done! If you would like to tag another product on the same photo then repeat step #3.
That's it! If you have any questions or need help, please feel free to contact us at support@growave.io or by chat icon in the bottom-right corner.